


Stay up-to date on the
latest blogs. Join our
newsletter today!
This site is protected by reCAPTCHA and the Google Privacy Policy and Terms of Service apply.
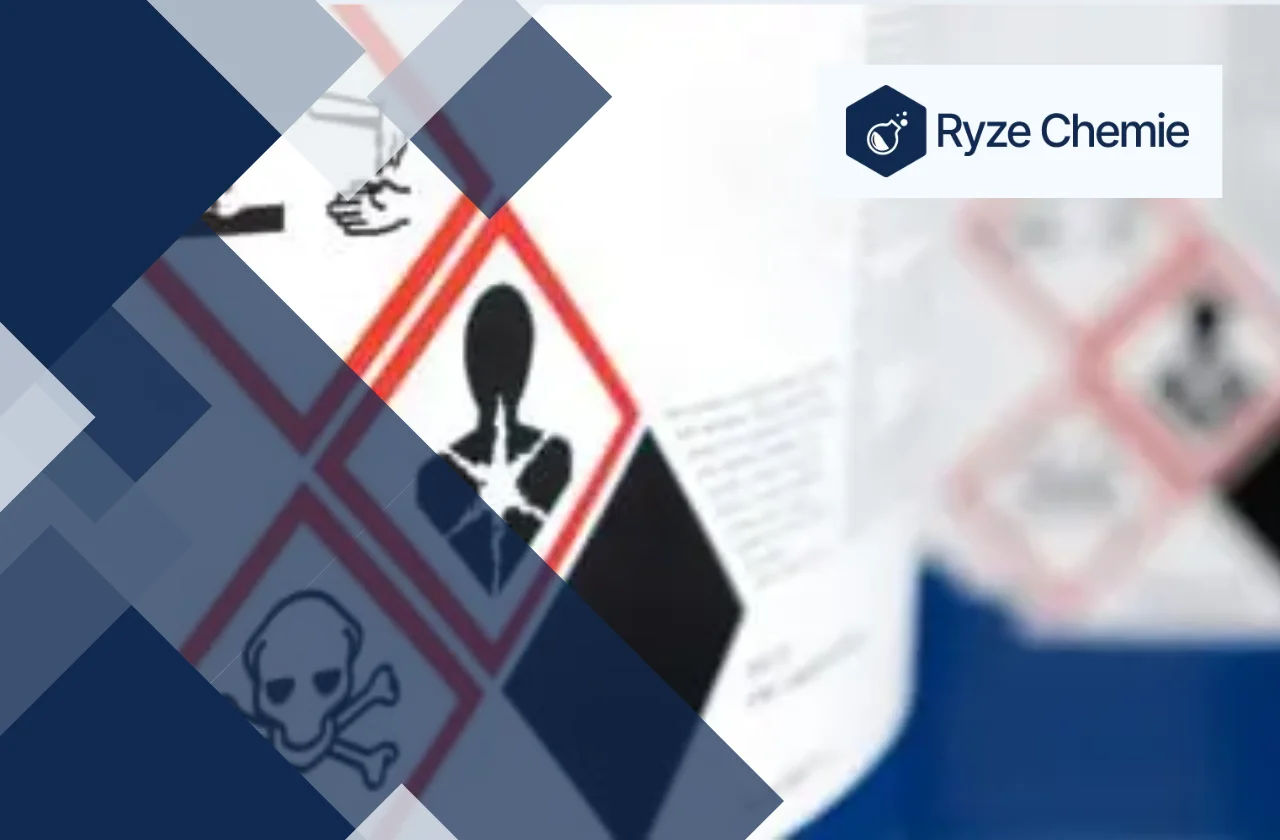
Lab Safety Signs: An Essential Guide (2024)
Written by Team Ryze Chemie
10 mins read · May 28, 2024
Working with hazardous chemicals in a laboratory poses many dangers. Lab accidents can range from minor injuries to major casualties, and they can happen to anyone, regardless of experience. Even the most seasoned professionals may sometimes overlook a safety sign. This can lead to severe consequences, such as burns, respiratory problems, or even life-threatening situations.
We understand that navigating the labyrinth of lab safety signs can be confusing. There are so many different symbols, colors, and warnings that it's easy to feel overwhelmed. But, remember that your safety is paramount.
This guide aims to simplify lab safety signs for you. We'll break down the different types of signs, explain their meanings, and provide you with practical tips on how to use them to protect yourself and others. By the end of this guide, you'll be well-equipped to identify potential hazards and respond appropriately, ensuring a safe and productive lab environment.
Fundamental Lab Safety Sign Categories
Lab safety signs are your silent guardians in the laboratory. They convey essential information about potential hazards, mandatory actions, prohibited activities, and emergency procedures. Understanding these signs is crucial for your safety and the safety of others. Let's break down the fundamental categories you'll encounter:
1) Warning Signs:
Warning signs are like a friendly tap on the shoulder. They alert you to potential hazards in your work area.
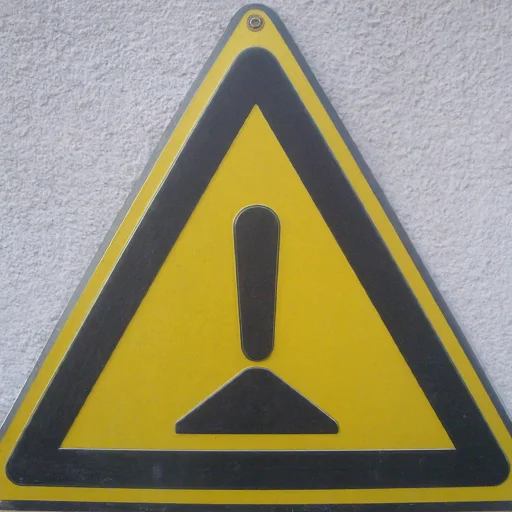
Purpose:
- To grab your attention.
- To inform you about specific dangers.
- To remind you to take precautions.
Examples:
- Flammable materials: Watch out for open flames! This sign usually features a flame symbol.
- Corrosive substances: Protect your skin and eyes! Look for the skull and crossbones.
- Oxidizers: These chemicals can cause fires. An exclamation mark and a flame are common symbols.
Key Visuals:
- Exclamation mark
- Flame symbol
- Skull and crossbones
2) Mandatory Signs:
Mandatory signs are the bossy ones. They tell you exactly what you MUST do to stay safe.

Purpose:
- To give clear instructions.
- To enforce safety rules.
- To prevent accidents and injuries.
Examples:
- Wear eye protection: Shield your eyes from splashes and debris.
- Use gloves: Protect your hands from chemicals and contamination.
- Wash hands: Keep your hands clean to prevent the spread of germs.
Key Visuals:
- White pictogram on a blue background.
3) Prohibition Signs:
Prohibition signs are the rule enforcers. They show you what actions are strictly forbidden.
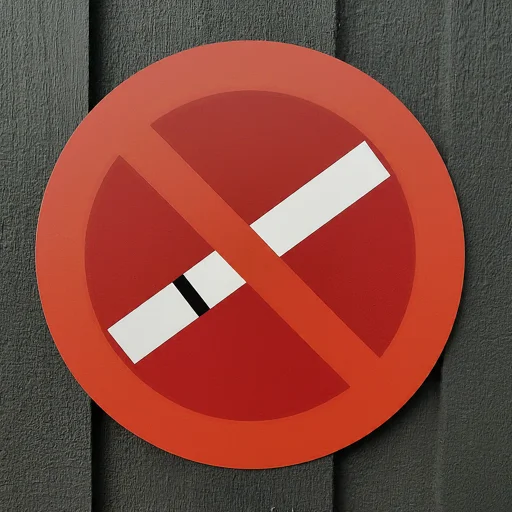
Purpose:
- To prevent dangerous activities.
- To keep the lab environment safe.
- To protect equipment and materials.
Examples:
- No open flames: Some chemicals are highly flammable.
- No smoking: Smoking can ignite vapors or create other hazards.
- No food or drink: Prevent contamination and accidental ingestion.
Key Visuals:
- Red circle with a diagonal slash.
4) Emergency Information Signs:
Emergency information signs are your lifelines. They provide critical information when things go wrong.
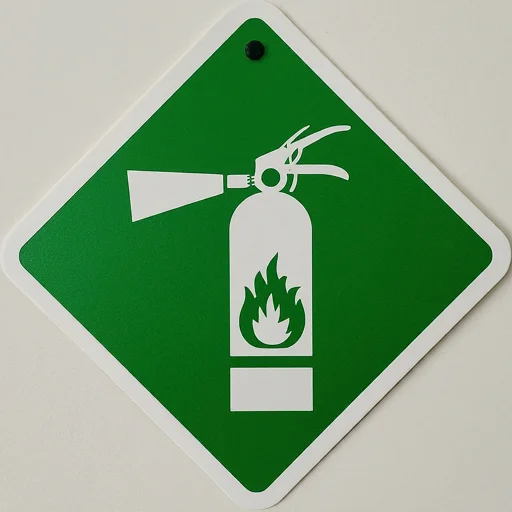
Purpose:
- To guide you during emergencies.
- To help you find safety equipment quickly.
- To direct you to emergency exits.
Examples:
- Location of fire extinguisher: Knowing where it is can save lives.
- First aid kit: Quick access to first aid supplies can treat minor injuries.
- Emergency exits: Know how to evacuate safely in case of fire or other dangers.
Key Visuals:
- Green background with a white pictogram.
With the basic categories in mind, let’s explore the specific signs related to chemical hazards.
Chemical-Specific Hazard Lab Safety Signs
In the laboratory environment, where chemicals are essential tools, safety is paramount. Effective communication of potential hazards associated with these substances is crucial. Two standardized systems, the Globally Harmonized System (GHS) Pictograms and the National Fire Protection Association (NFPA) Diamond, serve as vital visual aids for laboratory personnel:
GHS Pictograms: Recognizing Chemical Hazards
The GHS Pictograms use easily identifiable symbols to convey specific hazards associated with chemicals. These symbols are enclosed within a red diamond border, further emphasizing their importance.
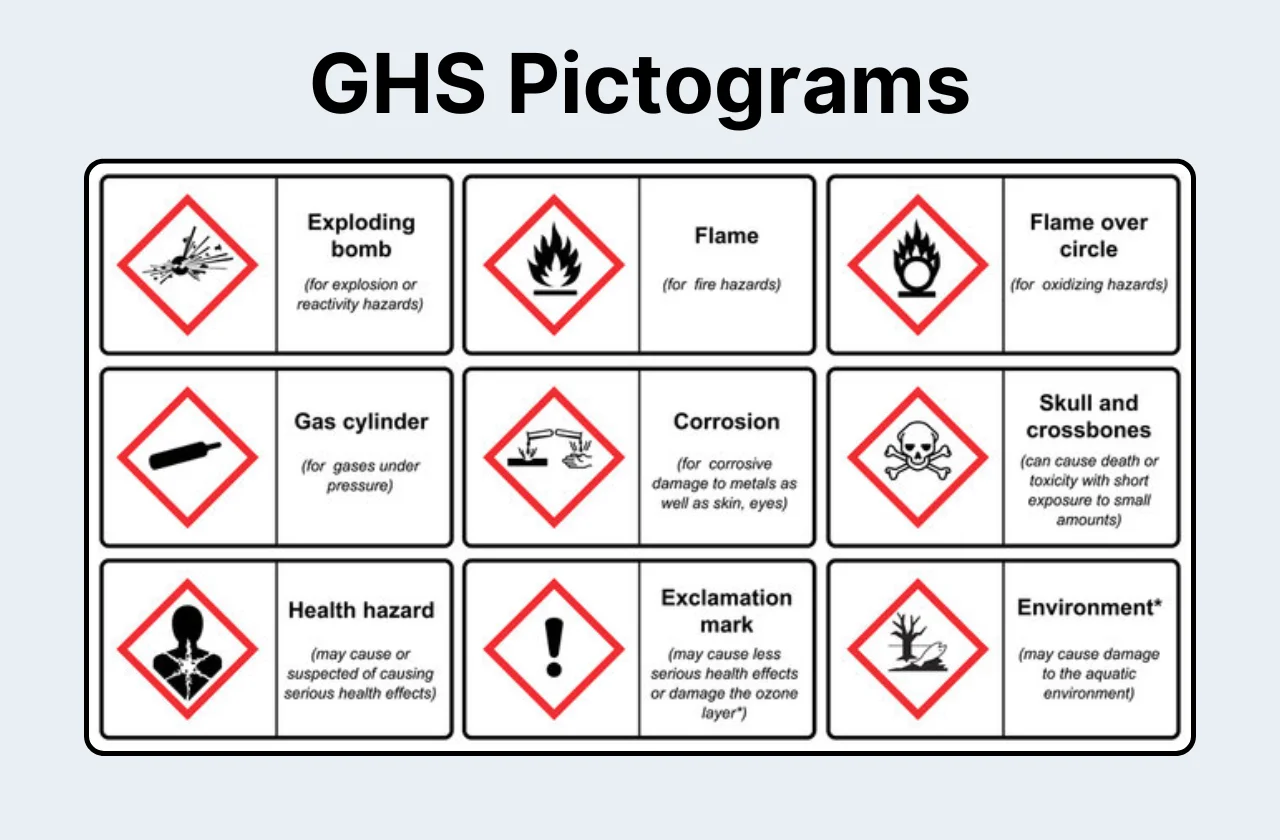
- Health Hazards:
- Skull and Crossbones: This symbol represents acute toxicity. Chemicals bearing this pictogram can cause severe harm or death through various exposure routes.
- Exclamation Mark: This symbol indicates less severe health hazards, such as skin or eye irritation, respiratory sensitization, or narcotic effects.
- Health Hazard: This symbol encompasses a broader range of health hazards, including carcinogenicity, mutagenicity, reproductive toxicity, and specific target organ toxicity.
- Physical Hazards:
- Flame: This symbol denotes flammable substances, which can easily catch fire and burn.
- Flame Over Circle: This symbol signifies oxidizers. These substances release oxygen, enhancing combustion and increasing the intensity of fires.
- Exploding Bomb: This symbol identifies explosives, self-reactives, organic peroxides, and unstable substances, which can detonate or undergo vigorous reactions under specific conditions.
- Gas Cylinder: This symbol indicates gasses under pressure. These gasses can pose hazards due to their potential for rapid expansion or asphyxiation.
- Corrosion: This symbol represents corrosive substances that can cause severe damage to skin, eyes, and other materials.
- Environmental Hazard:
- Dead Fish and Tree: This symbol signifies chemicals that pose a significant risk to aquatic life and the environment. These substances can be toxic or persistent in the environment.
NFPA Diamond: Understanding Chemical Fire Hazards
The NFPA Diamond is a four-color square with a rating system for each quadrant. This system provides a quick assessment of a chemical's flammability, health hazards, instability, and special hazards.

- Red (Flammability): Indicates a substance's susceptibility to ignition and burning. Ratings range from 0 (will not burn) to 4 (extremely flammable).
- Blue (Health): Indicates the potential health effects of exposure. Ratings range from 0 (normal material) to 4 (deadly).
- Yellow (Instability): Indicates a substance's potential for violent reactions, such as explosions or detonations. Ratings range from 0 (stable) to 4 (may detonate).
- White (Special Hazards): This section provides additional information about specific hazards, such as reactivity with water (W), oxidizers (OX), or simple asphyxiants (SA).
Interpreting NFPA Ratings:
The numerical ratings in each quadrant range from 0 to 4, with higher numbers indicating a greater hazard level. For example, a chemical with a rating of 4 in the red quadrant is extremely flammable, while a chemical with a rating of 0 in the blue quadrant poses no significant health hazards.
Practical Applications in the Laboratory:
Both GHS Pictograms and the NFPA Diamond are essential tools for laboratory personnel. By understanding these systems, you can quickly identify potential hazards, take necessary precautions, and handle chemicals safely.
When working with a new chemical, always consult the Safety Data Sheet (SDS) for comprehensive information about its hazards and safe handling procedures. In addition to these standardized systems, laboratories may have specific safety protocols and additional signage tailored to their unique needs.
Besides chemical hazards, other safety signs are equally important. Let's look at these additional essential lab safety signs.
Additional Essential Lab Safety Signs
In addition to chemical hazards, labs have other essential safety signs. These signs cover a range of warnings and instructions to ensure overall safety. We will go through some of these vital lab safety signs:
Biohazard
Symbol: The biohazard symbol is a circle with three arcs on the inside. It looks a bit like a fan.
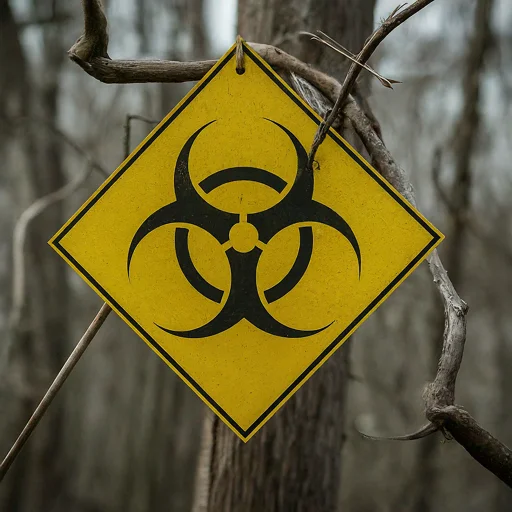
Meaning: This symbol means you're dealing with something that could make you sick. It might be a germ, a virus, or another kind of living thing that can cause disease.
What to do:
- Always wear gloves and a lab coat.
- Work inside a special cabinet designed for biohazards if you can.
- Wash your hands very well when you're finished.
- Don't eat or drink anywhere near biohazard materials.
Laser Radiation
Symbol: The laser radiation symbol is a triangle with a beam of light coming out of the top.
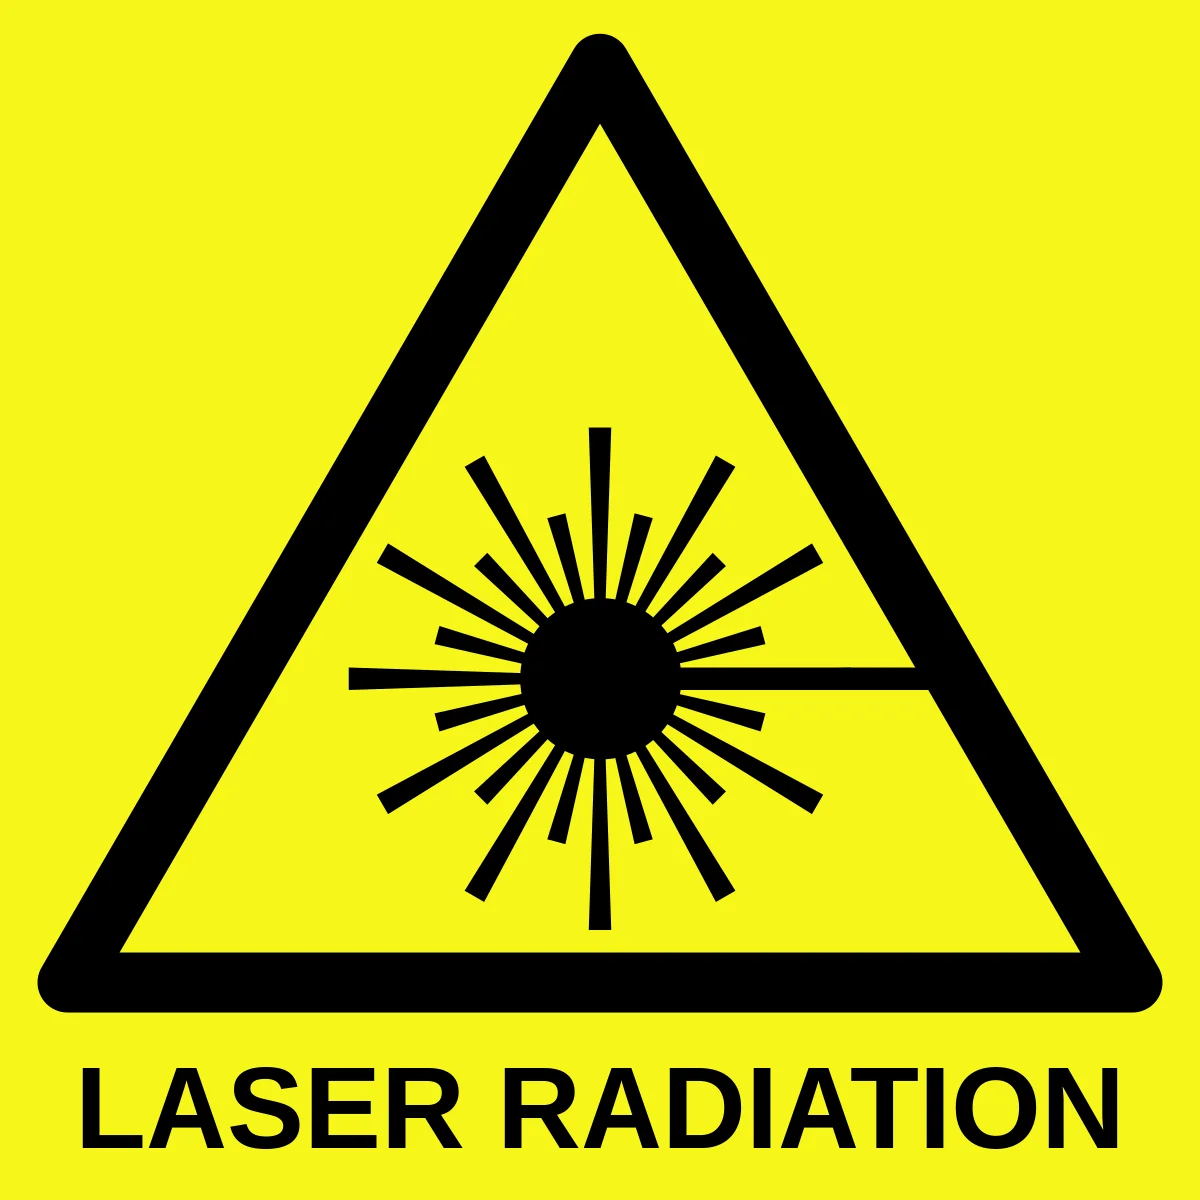
Meaning: Lasers use strong beams of light. These beams can be different strengths, or "classes." Some lasers can hurt your eyes or even burn your skin.
What to do:
- Wear special laser safety glasses. The type of glasses depends on the class of laser.
- Never look directly into a laser beam.
- Follow any extra instructions for the specific laser you're using.
Radioactive Materials
Symbol: The radioactive material symbol is a circle with three triangles radiating out.
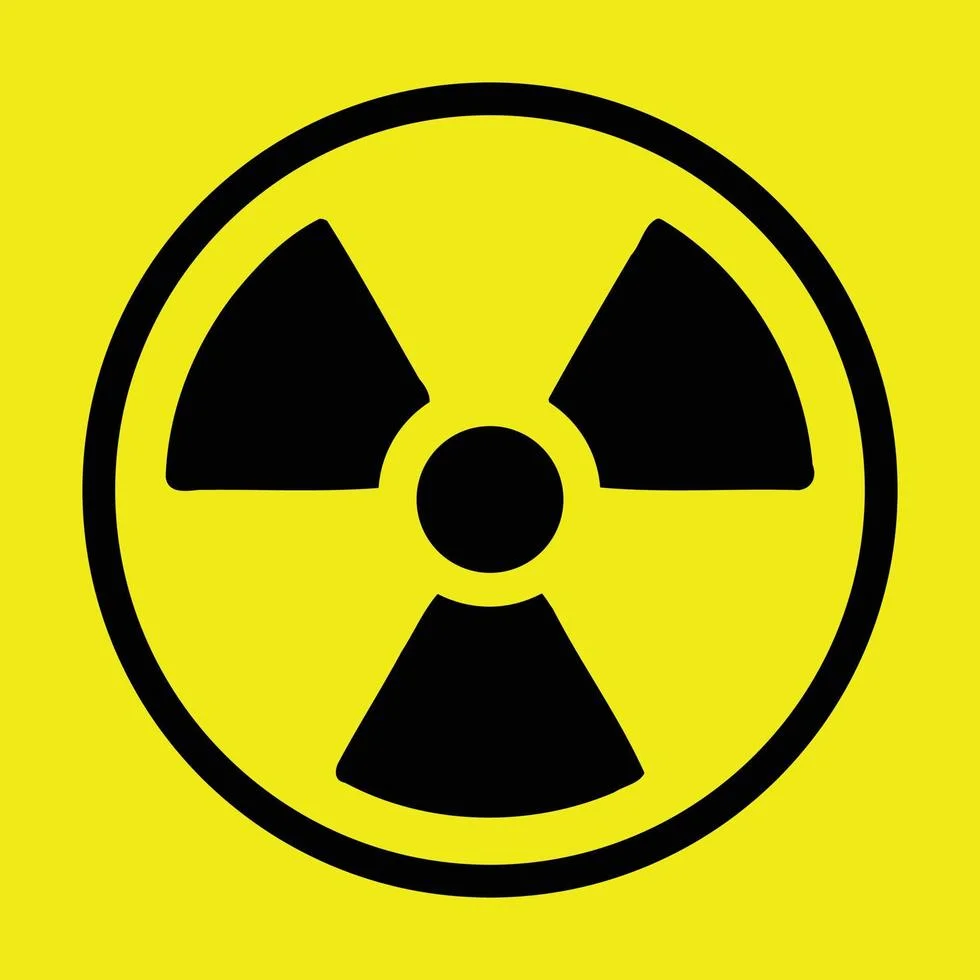
Meaning: This symbol means there are materials that give off radiation. Radiation can't be seen, but it can damage cells in your body over time.
What to do:
- Handle radioactive materials with tongs or other tools whenever possible.
- Wear a radiation badge to track how much radiation you're exposed to.
- Store radioactive materials in special containers.
- Follow all safety rules for the specific radioactive material you're using.
Cryogenic Hazards
Symbol: The cryogenic hazard symbol looks like a snowflake or an ice crystal.
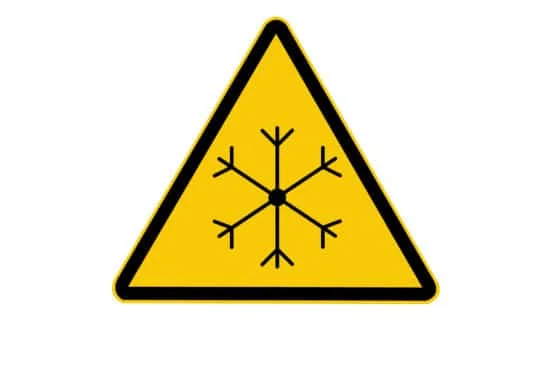
Meaning: This symbol means there are super-cold materials around. Touching these can cause frostbite or burns instantly.
What to do:
- Always wear special cryogenic gloves when handling these materials.
- Use tongs or other tools to move cryogenic materials.
- Store cryogenic materials in special containers.
- Never touch anything that looks frosty or icy without proper protection.
High Voltage
Symbol: The high voltage symbol is a lightning bolt with an arrow.
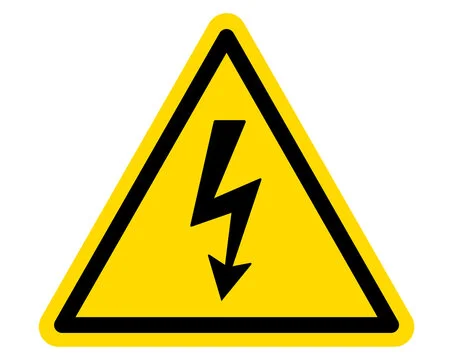
Meaning: This symbol means there is a danger of electrical shock. Electrical shock can cause burns, muscle spasms, and even stop your heart.
What to do:
- Never touch any wires or equipment with this symbol unless you're trained to do so.
- Turn off the power to any equipment before working on it.
- Use insulated tools if you need to touch wires or electrical parts.
Remember: Safety is a team effort. If you're unsure about something, ask your supervisor or a colleague for help. Stay safe and keep experimenting!
Now that you know about the different safety signs, let’s discuss some practical tips to stay safe in the lab.
Practical Lab Safety Tips for Lab Personnel
Knowing the safety signs is crucial, but following practical lab safety tips is just as important. In this section, we will share actionable tips to help you maintain a safe working environment in your lab:
1) Know Your Signs
- Learn the Language: Safety signs use specific colors and symbols. Red often means danger, yellow means caution, and blue provides information. Get to know these basic codes.
- Regular Reviews: Don't just glance at the signs once. Take time to review them regularly. This keeps safety top of mind.
- Ask Questions: If you're unsure what a sign means, don't hesitate to ask your supervisor or a safety officer.
2) Smart Sign Placement
- Eye Level is Key: Place signs at eye level whenever possible. This ensures everyone can see them easily.
- Clear Line of Sight: Make sure there are no obstacles blocking the view of safety signs. Keep them visible at all times.
- Near the Hazard: Place signs close to the specific hazard they're warning about. This helps make the connection between the sign and the risk.
3) Keeping Signs in Top Shape
- Clean and Clear: Regularly clean safety signs to remove dust and grime. This keeps them easy to read.
- Replace Damaged Signs: If a sign is faded, cracked, or damaged in any way, replace it immediately. A damaged sign is a useless sign.
- Regular Inspections: Include safety signs in your regular lab inspections. This helps you spot any issues early on.
4) Training
- Safety Training is a Must: Make sure everyone in the lab receives comprehensive safety training. This should include how to interpret safety signs.
- Refresher Courses: Safety isn't a one-time thing. Regular refresher courses keep safety knowledge fresh in everyone's minds.
- Open Communication: Encourage a culture of open communication about safety. If someone sees a potential issue with a safety sign, they should feel comfortable speaking up.
Conclusion
Lab safety signs are crucial tools for preventing accidents and protecting laboratory personnel. They provide clear and concise information about potential hazards and necessary precautions.
By understanding and following the instructions on these signs, we create a safer working environment for everyone. Remember, a safe lab is a productive lab.
Always prioritize safety and adhere to the warnings and guidelines displayed on these signs. Your well-being and the success of your work depend on it.
Latest Blogs